
Are you ready to bring your Canva creations to life with some fantastic, high-quality prints? Whether you are printing business cards, posters, or flyers, getting your files ready for printing can feel like a daunting task - Don't worry, we are here to make it as seamless and effortless as possible. Let's dive in and turn those digital masterpieces into tangible treasures!
Step 1: Design Like A Pro😎
First things first, let's make sure your design is print-ready. Canva is a great tool with a wide range of templates and design elements. But when it comes to printing, there are a few things to keep in mind:
- Bleed Area : Ensure your design has a bleed area. This is an extra 3mm on all sides of your design to account for trimming. Canva has a built-in bleed option you can enable under the "File" menu. This small step prevents any unexpected white borders around your print.
- High Resolution : Aim for at least 300 DPI (dots per inch) for print quality. Canva automatically sets designs to a high resolution, but double-checking never hurts! A high resolution ensures your images and text come out crisp and clear, avoiding any pixilation.
Check Out Our Previous Blog To See How To Add Bleed To Your Designs!
Tips For The Perfect Design🌟
Choose the Right Template, Canva offers thousands of templates. Pick one that matches your print needs, whether it's for a flyer, business card, or poster. Ensure any images you upload are high resolution. Blurry or pixelated images will only become more noticeable when printed. When it comes to ensuring that text is not cut off at the printing stage, Canva has guides to help keep text within safe zones. Using consistent fonts and colours. Canva's brand kit tool is perfect for keeping everything uniform.

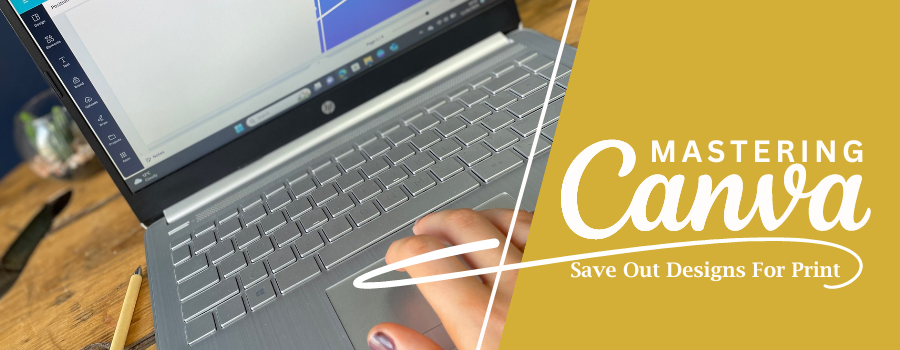
Step 2: Save Your Design 🎨
Once your masterpiece is complete, it’s time to save it! Here’s how:
- Click 'Share' and then ‘Download’: You’ll find the Share button in the top right corner of your Canva screen. It’s the gateway to turning your digital design into a printable file.
- Select the Right File Type: For printing, you want to choose PDF Print. This ensures your design will retain its high quality and any embedded fonts will be included. If you need a different format, PNG can also work well for high-quality prints, especially if you need a transparent background.
- Colour Profile: Don't save your print as a RGB if it is being printed as this is best for digital use meaning, the colours won't be the same on the computer Vs. printed. Instead, Choose CMYK, this way your file will be printed exactly the same colour as the design you have created and sent to us.
- Check the Crop Marks and Bleed Option: This is super important! Make sure to tick the box that says “Crop marks and bleed” to ensure your design prints perfectly. Crop marks help the printer know where to trim the paper, and the bleed ensures no unprinted edges.
- Download: Hit that download button and let Canva do its thing. Your file will be saved to your computer, ready to send over to us!

Step 3: Prepare For Printing⏳
- Convert to CMYK: Canva designs in RGB colour mode, which is perfect for digital use. For printing, convert your file to CMYK colour mode to ensure colours print accurately.
- Embed Fonts: While Canva typically embeds fonts in PDFs, double-check to ensure all fonts are included. Missing fonts can cause your text to look different when printed.
- Proofread: Always proofread your design one last time before sending it off. Trust us, it’s worth the extra minute! Spelling errors or incorrect information can be costly to fix after printing.
Step 4: Print And Enjoy🎉
You've done it! Your file is ready to go. Send it over to us online and get ready to receive your printed materials. Whether you have designed for a business, a special event, or just because, seeing your Canva creations in print is a fantastic feeling.
Depending on the complexity and quantity of your print job, turnaround times can vary. If you have any queries about the delivery date provided on our website, get in touch with us to discuss! Arrangements can be made for how you'll receive your prints. We do offer delivery services, but if you would prefer in - store collection that can be decided at checkout!
Extra Tips For A Seamless Experience😊
Going Beyond The Basics🔥
- Different Papers: Experiment with different types of paper. Glossy, matt, textured – each type can give your prints a unique feel.
- Finishing Touches: Consider adding finishes like lamination, embossing, or foiling to make your prints stand out.
- 100% Personalised Design: If you're unsure of creating your design why not get in touch with one of our designers and let us help you design your prints!
Common Mistakes To Avoid✔️
- Ignoring Bleed and Safe Zones: Always include a bleed area and keep text within safe zones to avoid trimming issues.
- Low-Resolution Images: Ensure all images are high resolution to prevent pixilation. Ensure your images are good quality.
- Wrong Colour Mode : RGB colours may not print accurately. Convert your designs to CMYK for the best results.
And there you have it! Saving your files from Canva for printing doesn't have to be stressful. With these easy steps, you're well on your way to producing stunning printed materials. Now, go design with confidence and let us handle the rest!
Check out our previous blog 'Mastering Canva: A Beginners Guide to Graphic Design'
Need help with your printing needs? Get in contact with us and let’s make your Canva designs into printed materials!